
How to Install and Care for Glass Shower Doors
A glass shower door is more than just a functional bathroom element; it’s a design statement that can elevate the entire space. Whether updating an existing bathroom or designing a new one, installing a glass shower door is popular for homeowners seeking a sleek, modern look. Not only does it create a sense of openness and light, but it also adds a touch of luxury that enhances the overall aesthetic. However, installing a glass shower door requires careful planning and precision to ensure a flawless result. In this guide, we’ll walk you through each step of the installation process, from measuring and selecting suitable materials to sealing and caring for your new glass shower door. With the right approach, you can achieve a professional-quality installation that will transform your bathroom into a stylish and inviting retreat.
Step 1: Measure and Prepare
The first and most crucial step in installing a glass shower door is to take accurate measurements. Begin by measuring the width and height of the shower opening using a tape measure. Measure at the top, middle, and bottom as there are few walls that are perfectly straight. Accurate measurements are vital because even a minor miscalculation can lead to complications during installation, such as gaps or uneven alignment. Decide whether you want a framed, semi-frameless, or frameless shower door. With your measurements in hand, double-check them to ensure precision before moving on to the next steps.
Step 2: Choose the Right Glass and Hardware
Choosing the right glass and hardware is not just about aesthetics but also functionality and safety. Tempered glass is the industry standard for shower doors due to its strength and safety features, as manufacturers design it to break into tiny, less dangerous pieces if shattered. When it comes to thickness, you’ll find that 3/8 to 1/2 inch is standard, with thicker glass offering a more luxurious and substantial feel. In addition to the glass, selecting the proper hardware is crucial for your shower door’s overall look and durability. Consider finishes like stainless steel, chrome, or brushed nickel, which are stylish and resistant to moisture and corrosion. Remember to match the hardware style with the rest of your bathroom fixtures to create a cohesive look.
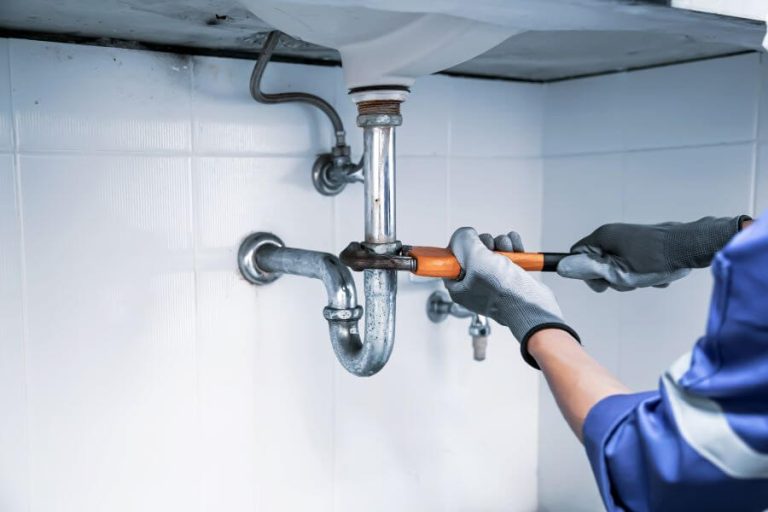
Step 3: Install the Door Frame or Track
Installing the door frame or track is the next step if you’ve opted for a framed or semi-frameless door. Begin by marking the locations for the frame or track on the shower walls, ensuring everything is level and aligned. Use a high-quality level to ensure that the track or frame will be perfectly horizontal, as any misalignment could result in a door that doesn’t close properly or water leaking out of the shower. Once you’ve confirmed the placement, drill pilot holes for the screws and anchors, which will secure the frame or track to the wall. Using the correct anchors is essential based on your wall material, as tile, drywall, or concrete require different ones. After securing the frame or track, check once more with a level to ensure everything is straight before mounting the glass door.
Step 4: Mount the Glass Door
Mounting the glass door is often the most challenging part of the installation due to the weight and delicacy of the glass panels. This step typically requires two people to lift and position the glass into place safely. Carefully align the glass door with the hinges or sliding track, ensuring it fits perfectly within the frame or along the track. If installing a frameless door, pay special attention to the alignment, as frameless designs rely heavily on precision to prevent water leakage. Secure the glass to the hinges or track using the provided screws or brackets, tightening them just enough to hold the glass firmly in place without overtightening, which could crack the glass. After securing the door, open and close it a few times to check for smooth operation and make any necessary adjustments.
Step 5: Seal and Waterproof
Sealing and waterproofing the glass shower door is critical to prevent water from escaping the shower area. Begin by applying a bead of silicone sealant along the edges where the glass meets the wall and floor, using a caulking gun for even application. Smooth the sealant with a caulk smoothing tool or your finger to ensure it fills gaps and creates a watertight seal. Pay special attention to corners and areas where the glass meets metal or other materials, as these spots are prone to leaks if not properly sealed. Allow the silicone to cure for the time specified by the manufacturer, typically 24 hours, before using the shower. Once cured, the sealant will create an invisible barrier that keeps water where it belongs—inside the shower.
Step 6: Final Adjustments and Cleaning
After the door is installed and sealed, it’s time for the final adjustments to ensure everything works perfectly. Open and close the door several times to check for smooth operation, ensuring it doesn’t drag on the floor or catch on the frame. If you notice any issues, such as misalignment or resistance, make the necessary adjustments by loosening or tightening the screws on the hinges or track. Once satisfied with the door’s operation, thoroughly clean the glass with a non-abrasive glass cleaner to remove any fingerprints, dust, or smudges that may have accumulated during installation. Use a soft cloth or a squeegee to avoid scratching the glass and to achieve a streak-free finish. This final touch will make your new glass shower door sparkle, adding a polished look to your bathroom. Using a shower glass coating will make it easier to take care of your new door.
The Final Touch and Ongoing Care
Installing a glass shower door is a rewarding project that enhances the beauty of your bathroom and increases its functionality. However, maintaining that sleek, modern look requires regular care and attention. To keep your glass shower door looking pristine, it’s essential to clean it regularly using a squeegee after each use to remove water droplets that can cause mineral deposits or water spots. For a deeper clean, use a mixture of white vinegar and water or a specialized glass cleaner applied with a soft cloth to avoid scratches. Additionally, periodically inspect the silicone sealant for any signs of wear or damage and reapply it if necessary to maintain a watertight seal. These simple steps will ensure your glass shower door remains as stunning as the day it was installed, offering years of beauty and reliable performance in your bathroom.